Junkers 101
Step 7
If you are very lucky, you will have aligned all your cuts perfectly, and won’t need to fill any gaps. Well done. The rest of us will need to do some filling now. At this point, I’ve assembled and attached the torso. You can also glue the base on at this point if you like, but I prefer to be able to get into the nooks and crannies of a model as much as possible when putty is involved.
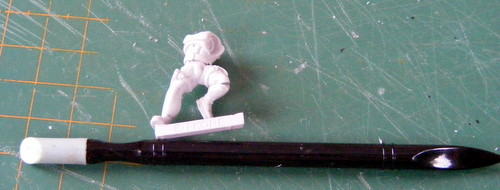
I use Green Stuff, but Miliput or any other putty you would use for modelling will work just as well. The tool I will be using is a manicure tool from our local supermarket. It has a plastic/rubber cuticle pusher at one end, and a curved, blunt point at the other, and costs very little. Mine was free, as my wife was auditing her beauty products box, but I’m assured that the tool was not expensive in the first place (£1 - £2).
I use Green Stuff, but Miliput or any other putty you would use for modelling will work just as well. The tool I will be using is a manicure tool from our local supermarket. It has a plastic/rubber cuticle pusher at one end, and a curved, blunt point at the other, and costs very little. Mine was free, as my wife was auditing her beauty products box, but I’m assured that the tool was not expensive in the first place (£1 -
Step 8
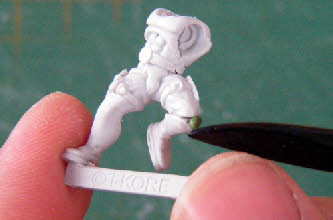
Take a small ball of putty, and place it in the gap where the leg has been attached. Use the rounded, pointy end of the tool for shaping the ball to match the surrounding surfaces.
A couple of tips here: make your putty just a little soft (more yellow than blue for green stuff) to make your life easier at this stage, and keep your sculpting tool wet, or lubricated with lip balm for a smooth finish.
A couple of tips here: make your putty just a little soft (more yellow than blue for green stuff) to make your life easier at this stage, and keep your sculpting tool wet, or lubricated with lip balm for a smooth finish.